Category Archives: crafting

DIY Candle Label Coverup

Standard

Have you ever purchased a big honkin’ delicious smelling candle but weren’t really thrilled on setting it down on the middle of your coffee table for esthetic reasons? Then this is for you. I have come to save you.

I purchased a half-off pumpkin candle at Rite Aid last week ($5!) but didn’t want to advertise their store and stare at the sticker label. Sure, it could look just as good with clear glass, but I wanted to spiffy it up. Enter in mod podge and images you love!

I dug through my closet to find a few pieces of inspiration and thought some of the roll of faux wood grain contact paper would do the trick just right. So I cut it out to match the width and height of the candle, and modge podged on some images! It was so easy! I dare you to try it.

I am very happy with the results, and she is beautifully sitting in the middle of my coffee table as we speak (or rather, as I type). Yep!

DIY Festive Acorn Garland

Standard

I don’t know about you, but I like simple crafts. Easy. No frills. No frustrations. I don’t like to pull my hair out over things, y’know? I’m sure you don’t either. It has been awhile since I’ve made any seasonal crafts. This, of course, is my favorite time to take advantage of that. When I found this idea to make an acorn garland, I knew it was the perfect project to fit the bill.

You can really make a garland out of anything, I realized. My next idea is to make a pumpkin one. All you really need is a few basic tools, and you’re set. I opted to go ahead with this project mostly because I already had a huge role of dark faux wood grain contact paper that I bought at Home Depot several months back (remember this?). Most hardware or home stores carry it in slightly different shades of brown, and it usually isn’t more than $8. Yay for cheap crafts! It’s so easy to work with, too, and you can make all sorts of creative things with it.

The original outline suggested the use of two different tones of contact paper, but I opted to try something different. I had a new roll of green scotch tape with yellow flowers on it, and walked by the paint chips at Fred Meyer yesterday and it came to me–those would be my acorn top hats (sorry Freddie for raiding your paint chip section). Really, you can use anything. Any kind of fabric, wallpaper, or pattern, if you’re albe to glue it or affix it to chipboard, you’re cool.

So, here are the basics of what you will need:

  • at least one tone of a roll of wood grain contact paper
  • acorn template (see here–I had to photoshop mine to shrink the size because this original one was a bit too big for my liking)
  • paint chip samples wide enough to cover the cap of the acorn, or any other type of pattern
  • 3-4 pieces of thin chipboard or 2 cereal boxes, cut
  • twine or yarn
  • scissors
  • hole puncher
  • pen
  • liquid glue stick
  • thumb tacks or any other method to hang your garland

Place your acorn template over the wood grain contact paper and trace out the shape of the main body of the acorn. Do the same thing for the top hat color of your acorn–trace it until it stops around where the main body starts.

Punch two holes on each side of the hat near the stem, so that the acorn will be stabilized on the twine. Repeat for all of your acorns and thread them on!

And if you’re lucky enough to have a little helper, you can have some help with the string…

Enjoy your creation! I’m in love with these! I hung this one above my stove, and the patterned one in the window of my kitchen near the dining table. Thanks again for sharing, Rachel!

DIY Wood Grain Laptop Skin

Standard

I’m obsessed with wood. Wood floors, wood panels, faux wood iPhone covers, computer speakers, fabric, you name it. So when I saw this idea I knew I had to do this to my computer.

You can purchase the contact paper online via Amazon but I also just so happened to wander into Home Depot several weeks ago and wandered the million isles to see if they had similar contact paper available. They had several options, dark wood, light wood, and another I cannot recall. I opted for dark wood, and the whole roll wasn’t more than $7 or $8. I bought myself a brand new X-acto knife and went to town.

Just a reminder: Make sure you put down some cardboard paper or cushioning when you cut the contact paper out so that it doesn’t scratch the surfaces below.

It turned out rather nicely. I didn’t bother to cover the bottom backing or space near the keypad mostly just out of pure laziness and not really feeling like it was that necessary. Feel free to do whatever you’d like. Fine & Feathered recommends to remove your laptop battery but if you have a MacBook Pro like mine you’re not able to do so.

Supplies you will need:

  • a roll of faux wood grain contact paper
  • parchment/tracing paper
  • ruler
  • pencil
  • X-acto knife
  • tape

Read the rest of this entry

Rock & Shop Craft Sale

Standard
IMG_1739

As previously mentioned, the Rock & Shop Craft Sale was a smashing success. The hours and hours of creative thinking, preparation, planning, baking, and crafting (and stressing) were worth every second. Although I had a million other things on my plate during that week leading up to it, I don’t regret shifting the majority of my focus on this event. Creating the cupcake menu was the best part! And one thing lead into another, of course. The sewing machine made its way out of the closet and demanded that some owls be made. I couldn’t turn the opportunity down…

So, here’s what my all-vegan cupcake menu looked like:
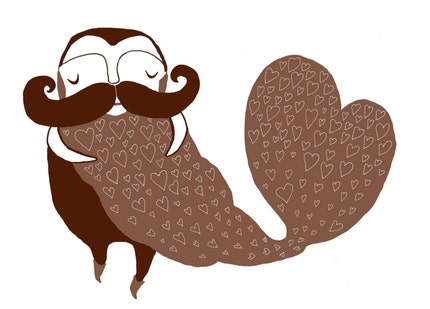
-“The Magnum PI“: vegan chai tea cardamom cupcake with a vanilla bean cardamom buttercream frosting, topped with a Tom Selleck chocolate MUSTACHE ! (these sold out first)
Chocolate Coconut Curry: vegan chocolate curry cupcake with a sweet coconut chocolate curry frosting, topped with pink himalayan salt crystals
-“The Nutty Drunk Monkey“: vegan caramelized plantain cupcake with a cinnamon maple rum walnut frosting, topped with a banana chip
Lemon Lavender: lemon zest vegan cupcake topped with a lavender buttercream lemon zest frosting
Here was my pre-sale sampling platter of the rejects (according to me) that I split up among my family so that we could taste to ensure they were not poison.
DSC_0138
DSC_0142
Demolished!
It was hard to chose a favorite. I think my top two were the chocolate curry and the lemon lavender, although they were all delicious. All of these were experiments, mind you. I’ve made the cupcake portions many times before, but the flavor combos with frostings were something I’d never tried before. (Note: all slightly modified cupcake base recipes came from VCTOTW, so thank you Isa & Terry!) My favorite part of cupcake baking is the creativity of flavor pairings, so this was definitely what I enjoyed most out of this experience. I had so many ideas flowing through my head for DAYS. It was all I’d think about at work for a while. I’d scribble and jot down notes on random pieces of paper and at the end of the week I finally committed to a menu. It wasn’t easy. I would have baked 12 dozen cupcakes if I could have. But I had to calm myself down. Four dozen would be plenty.
The half-dressed cuppie cakers, pre-pimping.

DSC_0016

DSC_0018

Anyway, the chocolate curry combo didn’t seem too far off especially since there seems to be tons of chocolate bars these days donning these ingredients. Coconut extract packed in a little extra punch in the frosting and rounded it out perfectly. And chunks of sea salt are also a popular pairing with chocolate, so I topped the cupcakes with a few grinds of that.
DSC_0151
As for the lemon lavender, I don’t think I have to explain my obsession once again for the flavor combo. I used a little bit of lavender syrup in the frosting and it came out great.
DSC_0152
DSC_0150
Originally I thought of doing a banana cupcake with a peanut butter frosting, naming it something clever, like “The Elvis” or something similar in the title and what-not, but I didn’t want to follow the trend of every other bakery out there that’s doing that exact thing. Plantains have been a regular staple in my kitchen for the past year or so, mainly fried up in some ghee, cinnamon, nutmeg, and cardamom to put in my morning oatmeal or whatever, but they have so much more potential to them to be explored culinary wise. Incorporating them into a cupcake seemed only natural. To soften and ripen it up a bit, I caramelized it by baking it in some margarine and spices for a few minutes in the oven. And then I mashed it with a few regular bananas so it wouldn’t be so dry. The frosting was another story. I modified the “cashew butter frosting” recipe by using walnut butter instead, and it called for soy protein powder. Well, let’s just say the first batch didn’t turn out so well. Little miss trying to be economical by trying to find most ingredients in the bulk bins, I accidentally used soy flour, the yellow funny-smelling stuff that has quite a disturbing taste if you’re not prepared for it. Thank GOD I taste tested that frosting before they went on the cakes. I usually never do. Anyway, I ended up getting the right stuff and it turned out. It was a bit runny and didn’t stay on the cupcakes well so I refrigerated them overnight and it helped a little.
DSC_0257
And as for the chai cupcake piled high to the sky with the vanilla bean cardamom frosting and the mustache that gives you wings. Deeelicious. Very mild and sweet. Although I’m not much of a frosting person, I typically go for a cupcake > frosting ratio (not the other way around), I would eat this any day.
DSC_0161
IMG_1714
So yes, I sold them for $3 each (not an easy decision either…) and ended up selling out! I wasn’t so sure how popular they would be, but it was a hit. I also ended up selling some gluten-free brownies topped in gold dust, and some shortbread tea cookies (lavender, rose, and caramelized pear truffle teas).
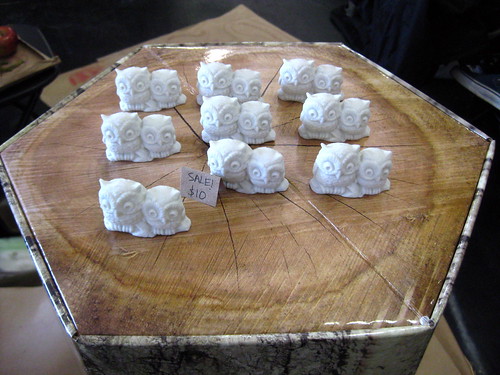
DSC_0160
DSC_0096
DSC_0104

DSC_0105
As for the owls…
DSC_0125
Meet Winston (far left, not pictured), Matisse, Olly, Mortimer, and Lilith.
They all have stories and antidotes that I can’t recall at the moment, but they were all one happy family before some were adopted. I sold Olly and Mortimer.
These went for $25 a piece, and I was happy to have sold at least one!
They were very fun to make and I can’t wait to make more in the future…
IMG_1723
IMG_1721
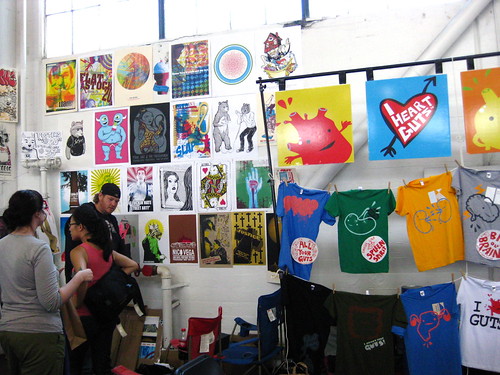
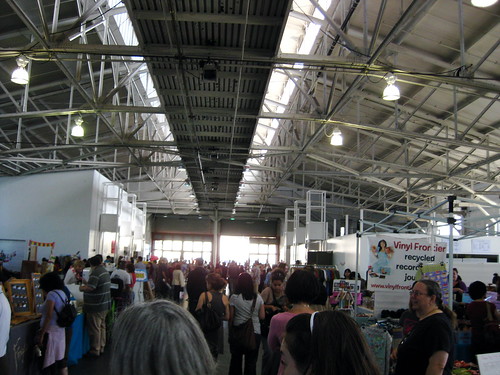
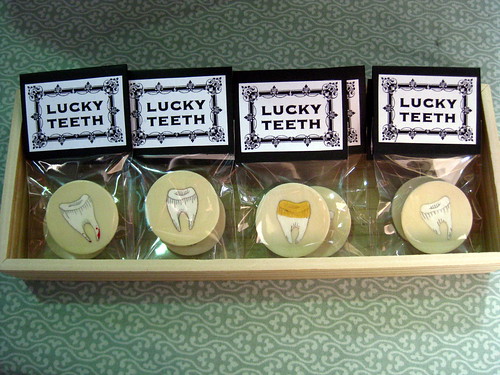
As for the other sellers, there were other (mini) owls, chandeliers made out of silverware, feather hair clips, hand-made toddler clothes, homemade marshmallows, and many other crafty things. Most importantly, my stepmom sold her fabulous paper crowns with me, too!
IMG_1726
IMG_1735
DSC_0242
Harvey Lee Owlswald. Genius.
DSC_0200
DSC_0231
DSC_0182
DSC_0264

DSC_0261

IMG_1754
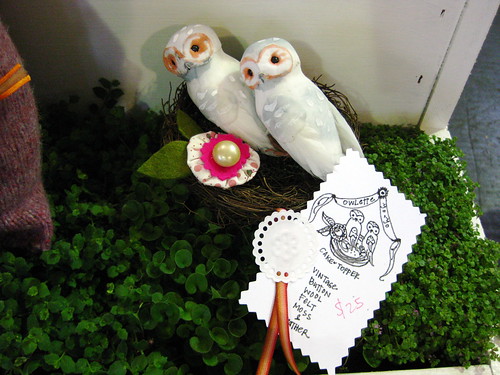
A cupcake treat trade paid for part of that bee necklace.
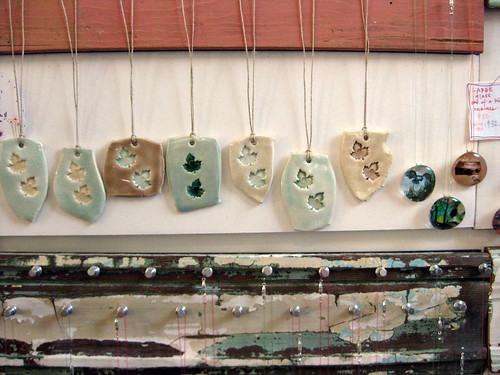
The crafty lady that made it (and the other art plaques and magnets) happens to be my new hairstylist. I get my haircut by her tomorrow! So stoked.
DSC_0164
I set out my DIY “business” cards to advertise my blog and such.
Only 2 were left at the end of the day.
People wanted to know if I catered for weddings or birthday parties! I wish! I was so flattered!
Someday… someday in the (near) future.
And here are some shots of awesome cupcake supporters:
DSC_0215
My personal favorite. She was completely obsessed with this cupcake. The second she came up to the table, she was fixated and kept pointing and saying “mustache! mustache! mustache! I want the mustache cupcake!” She wouldn’t take no for an answer from her mom.
Adorableness to the 20th power.
DSC_0247
IMG_1748
Co-worker friends.
IMG_1756
And blogger friends! Amey (Vegan Eats & Treats) stopped by and had herself a nutty drunk monkey!
This was truly some of the best 7 hours of fun I have had in quite a while. Although I had no idea what to expect, it exceeded that non-existent expectation. I was glowing and grinning from ear-to-ear the entire time and have ever since. So many friends and family came out of their way to support and I thank each and every one of you from the bottom of my heart for doing so. It really means a lot. You all made my day/year/life!
Cheers to more cupcake baking and craft sales in the future!

SF Renegade Craft Fair 2009

Standard

Man oh man, have I been meaning to talk about this forever! The Renegade Craft Fair happened back in July (18th and 19th)! And although it’s four months later, I still have to mention it, because it’s pretty much one of the best things on earth I have ever experienced. So, yes, I was quite excited and so happy to have made it there!

This was the second year the event occurred, and they only come to select cities. Yeah, it’s a pretty special thing. Hundreds upon hundreds of indie craftsters, artists, bloggers, and other lovely people participate and line up in rows in the Costco-sized Fort Mason Center in San Francisco (here is/was the artist lineup). Tons of Etsy sellers were there, and I recognized more than half of what was sold just from online popularity and purchasing that I have done myself. It was so wonderful to meet all of these famous artists in person! I was dying in happiness! Everyone was so, so sweet and personable and cheerful. I loved everyone I met. The best part is that their mascot is an owl. Yeah, I know, I was going crazy. Not only that, but owls were everywhere. Almost everyone had something owl-related to sell, it was overwhelming. I bought so many great things, it was quite an owl hay-day.
The official poster for this years West Coast event, done by the very talented Mat Daly.
When I first walked in, there was a booth of all things made up of the “Renegade Craft Fair owl” and there were tons of Mat Daly posters. I wanted all of them. Notice the owlage…

Ummhmm.

Very crafty and creative journals made out of old book covers.You can find similar ones here: Ivy Lane Designs.
Hm, wonder which poster I bought…
I love all of this.
You can find tons of these on Etsy.
Pretty much the cutest wedding cake topper I have ever seen in my life!Mosey Handmade.
This lady rocks the planet.
I Heart Guts.

Art Goodies.I was so tempted to buy that owl block print. SO TEMPTED.The cupcake and fawn are pretty darn cute, too!
The infamous Renegade owl. Unfortunately, I spent too much time looking around and the face painting booth (yes, and they had a cupcake booth in the beginning, too!) closed down = major bummer. But at least I got to snap a photo of this cute girl that had it done…
Almost got one of these but had to control myself…
Okay, this guy is definitely one of my favorites. I talked to him for quite a while about owls and going out owling at night, and we could have gone on for hours. He gave me an extra special amazing deal on three owl prints! I purchased the first print on the top left, and the bottom two on the left. He rocks! Please support him!


My favorite famous beard lady, Erin Dollar, who, of course, happens to be from Portland (because everything great comes from Portland). She is incredible. I so admire her and her creativity. I haven’t purchased a beard yet, but one of these days… in the meantime, the 48 beardy stickers will suffice. Etsy shop here.


Arcane Arts. I first encountered this artist in Portland at the Doug Fir Lounge’s Crafty Wonderland. (I purchased the two owl prints next to each other in the center.) It was so cool to encounter her again!


I also met the wonderful Cakespy! That was quite a lovely surprise, since I have been a fan of her blog for years now. She’s rad and makes awesome cupcake art!
Laura George was also a pleasure to meet. I had just seen her art a few days before coming to the fair, and it was awesome to buy her art directly from her instead of through Etsy! Her prints are very clever and cute, such as the one I purchased below:

The aftermath of loot all over my bed.


I love you, Renegade Craft Fair! You made my craft-loving, owl-obsessing, Etsy-fan-admiring dreams come true! And it turns out I won’t have to wait an entire you for you to return: they’re putting on a holiday fair this December! I am SO there!

Not a Recipe: DIY Bottle Cap Earrings

Standard

I couldn’t resist sharing a little non-culinary creativity since I feel pretty puffed up with myself for finally making my own set of earrings from beer bottle caps. And yes, of course, they are from the Hitachino Nest Beer that I’ve been obsessed with for quite some time now. So far, I’ve only opened two bottles, hence why I didn’t go on to make a necklace (which I intend to do in the near future). These were so simple and easy to make. One trip to the craft store, $1.19 later, and a little bending and twisting of some wires, wah-lah! I had my own pair of owl bottle cap earrings. 

Basically all I did was hammer a hole in the rim with a hammer and a nail, and bent a few jump rings and put on an earring hook. As for the backing, I cut rounds of wine cork and glued them in the back so it wouldn’t be a hollow space. Beer on one side, wine on the other. All bases are covered. I’m thinking I might sell these if anyone is interested and is as owl obsessed as I am. But I’d have to charge a pretty penny to make up for the cost of the beer!